
Medical Spacer Cleaning and Replacement Guidelines
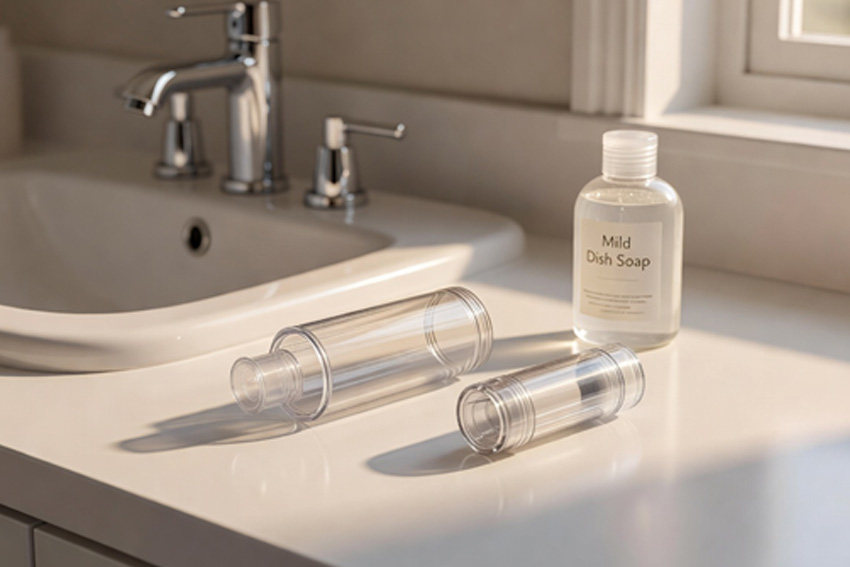
Routine maintenance of respiratory devices is critical for ensuring optimal medication delivery and patient safety. Clinical guidelines mandate that a medical spacer should be cleaned at least once a month using warm water and mild dish soap, then left to air-dry completely without rinsing the interior to prevent static buildup. Furthermore, most health care providers and manufacturers recommend replacing the spacer every 12 months, or sooner if physical degradation occurs.
Okay, so what does this actually look like in your bathroom sink?
You are probably staring at that cloudy plastic tube right now.
Wondering if it is actually doing anything to help your lungs.
Treat your spacer like indestructible plumbing and you are just breathing in poorly delivered medicine.
It is time to stop guessing and start treating your respiratory devices with the precision they demand.
How?
How Often Should You Replace the Device?
Your spacer is not a family heirloom.
You cannot keep it forever.
Just like you wouldn’t use an inhaler past its expiration date, holding onto a degraded chamber limits the amount of medicine actually reaching your airways.
General Annual Timelines
Mark your calendar.
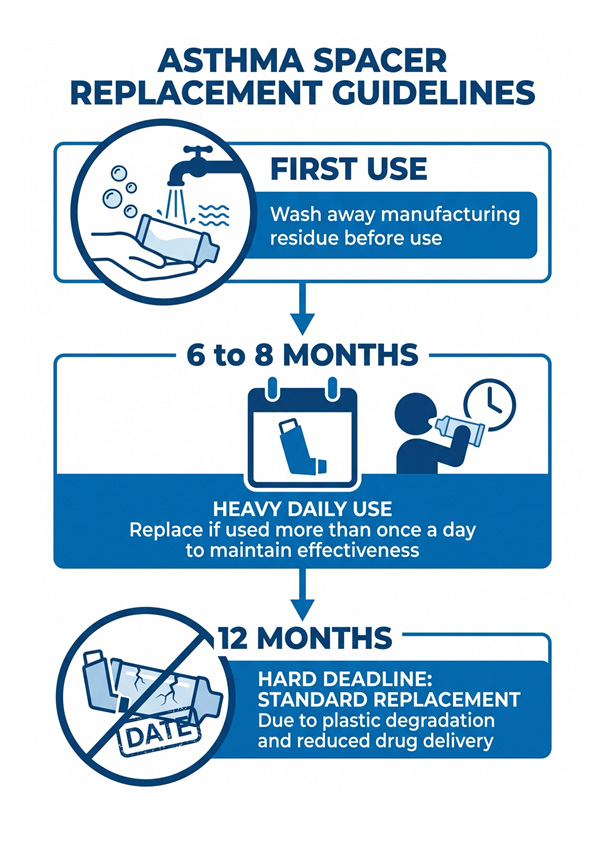
The standard valved holding chamber has a lifespan of about one year.
The plastic degrades. The valves warp. You lose the exact seal required to pull medicine deep into your lungs. To keep things organized, here is a common MDI canister protocol to track when things expire:
- Check the expiry date on your inhaler canister every single month.
- Replace the physical spacer every 12 months without exception, following a clear timeline for replacing equipment recommended by pediatric centers.
- Update your calendar with the date you first used the new canister so you know when the doses will run out.
It is a simple practice recommended by nearly every health care provider and pharmacist.
High Frequency Schedules
Using your device daily means you need to tighten that window.
Six to eight months is a safer bet for heavy use.
Your local pharmacy might even have an auto-renewal program to help you track this. Don’t wait until you are struggling for breath to realize your equipment is failing.
First Use Protocols
New out of the box doesn’t mean ready for your lungs.
New plastic spacers carry manufacturing residues and a massive static charge. Wash them before the first puff. Skipping this step means your first few doses are literally sticking to the inside of the tube.
Spot Signs of Physical Damage
Things break down over time.
Respiratory devices are no exception.
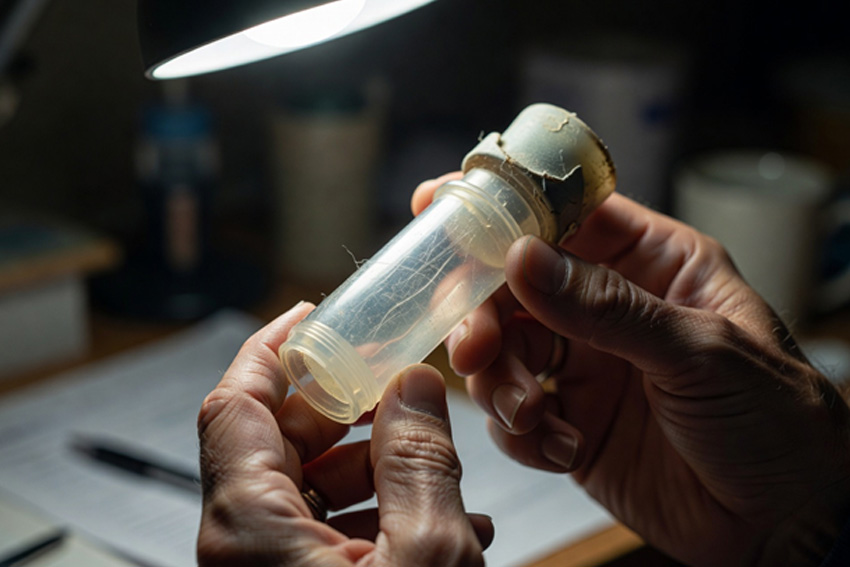
You need to inspect your equipment regularly. Look for these specific failure points when checking your gear:
- Cloudy contamination that does not wash away after soaking in mild dish soap.
- A dose counter on the inhaler that stops tracking accurately.
- Tears or warping in the rubber boot where the mouthpiece connects.
Cracked Plastic Cylinders
A tiny hairline fracture ruins the vacuum.
If air escapes the sides, the medicine never reaches you. It is that simple.
Stiff Valve Mechanisms
Inhale deeply.
If the rubber flap doesn’t move easily, you are working way too hard for your medicine. The valve should flutter with normal breathing. If it takes intense effort, the valve is shot.
Brittle Mouthpiece Components
Plastic ages in a dry environment.
It gets gross and sharp. An uncomfortable mouthpiece makes a child refuse their treatment entirely.
Wash the Equipment Step by Step
This isn’t hard, but almost everyone does it wrong.
Oddly enough, cleaning these devices reminds me of scrubbing an intake manifold on a car engine. You need the right solvents and gentle tools. Avoid abrasive brushes on soft materials to prevent scratching. Go soft and patient. Don’t use isopropyl alcohol.
Disassemble All Parts
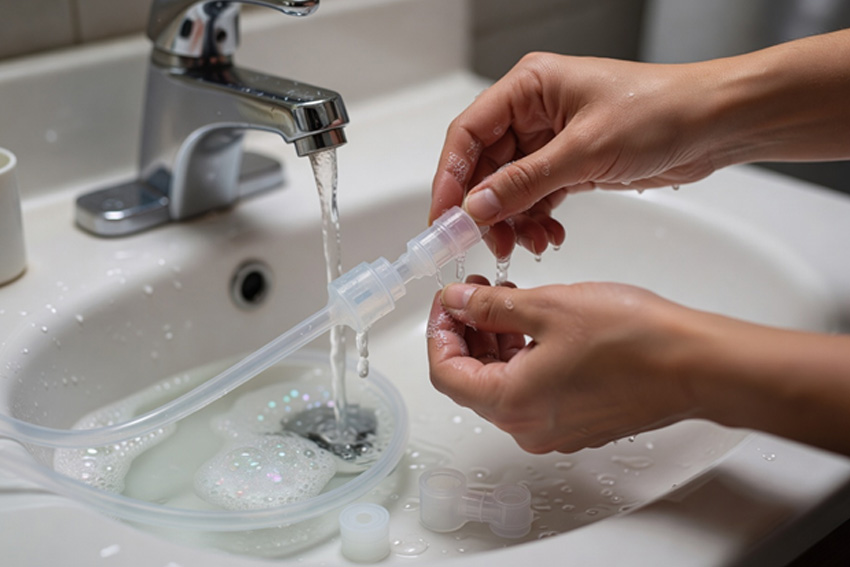
Pull the rubber boot off. Take off the mouthpiece.
Do not force anything that doesn’t want to pop loose. Check the instructions insert if you are unsure.
Soak in Mild Detergent
Lukewarm water. A few drops of mild dish soap.
Let it sit for 15 minutes in the sink.
Rinse Mouthpiece Only
Here is the vital part.
Do not rinse the inside of the tube. Rinse the mouthpiece so you don’t taste soap, but leave the sudsy film on the main chamber.
Eliminate Static to Maximize Delivery
I know leaving soap on a medical device sounds insane.
Trust me on this one.
Prevent Medication Adhesion
Static electricity is the enemy of your lungs.
It acts like a magnet, pulling the aerosolized medicine onto the plastic walls instead of down your throat.
Skip Wasteful Prime Puffs
Some people fire 10 puffs of a new inhaler into a spacer to coat the inside and reduce static.
That is an expensive waste of a new canister.
Soap does the exact same thing for pennies and saves your dose counter from depleting too fast. According to the team detailing spacer use and care at the National Asthma Council Australia, cleaning with detergent achieves better results by cutting static instantly.
Retain Protective Detergent
When you air dry the device without wiping it, that microscopic layer of detergent acts as an anti-static forcefield.
Wiping it with a towel creates friction. Friction creates static. Just let the air do the work.
Pair the Correct Inhaler Type
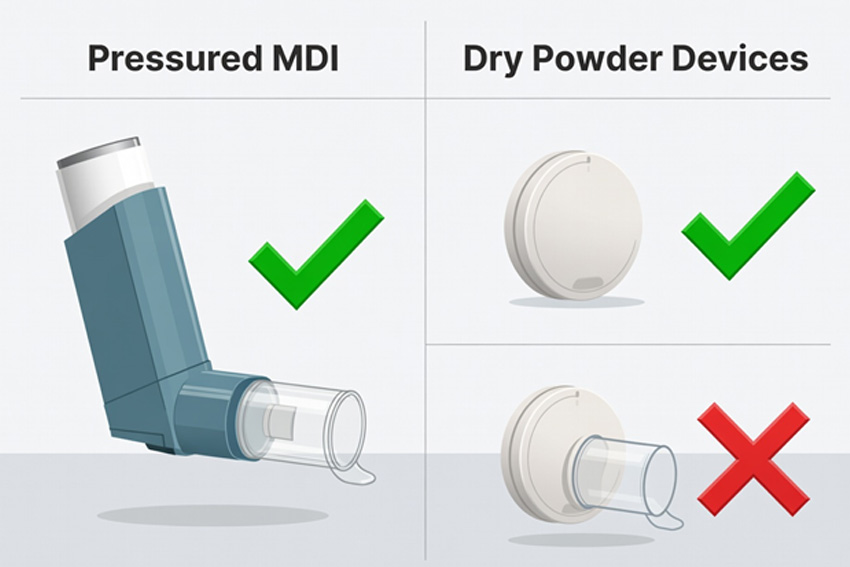
Don’t mix and match wildly.
Pressured Metered Dose
Spacers are built for pressured metered dose inhalers (MDIs).
MDIs spray a slow, uniform mist that hangs in the chamber.
Dry Powder Devices
Do not jam a dry powder inhaler into a spacer.
Experienced user circles agree this is a terrible idea. Powder needs your forceful, direct inhalation. A spacer dampens that force and the powder just falls to the bottom of the tube.
Emergency Kit Setup
People stuff their bags with multiple spacers and year-round inhalers to be ready anywhere.
Having backups reduces anxiety. I get it.
But keep your gear matched. MDI with spacer. Powder inhaler flies solo. Keep a small amount of gear perfectly curated rather than carrying a massive bag of mismatched parts.
Can Multiple People Share Equipment?
Absolutely not.
Sharing is a direct vector for infection. Even in clinical settings, cross contamination is a severe risk. A recent analysis by Grissinger et al noted that immunocompromised patients face severe risk from improper respiratory devices.
Buy your own equipment. It just isn’t worth the risk.
What Occurs If Residue Accumulates?
Mold. Bacteria. Under-dosing.
A dirty chamber traps the active medicine. You get a fraction of the benefit. Over time, that sticky residue becomes a breeding ground for bacteria in a warm, moist environment.
FAQ
People always have questions about edge cases. Let’s look at some common issues and how to solve them.
| Issue | Potential Cause | Solution |
|---|---|---|
| Poor medication flow | Stiff valve | Replace spacer immediately |
| Medicine sticks to walls | High static charge | Wash with mild dish soap and air dry |
| Coughing during use | Too much medication inhaled | Take slower, deeper breaths |
I was talking to a respiratory therapist named Matt at a local clinic the other day. Matt pointed out that patients often ignore these simple fixes and just ask for more medicine instead.
Don’t be that person.
Conclusion
Keep it clean.
Keep it matched to the right inhaler.
Replace it when the calendar says so.
It takes minimal effort to manage your equipment the right way. Your health care provider can prescribe the best medicine in the world, but if your delivery system is compromised, you are fighting a losing battle.
Stay diligent. Stay breathing. Your lungs will thank you.